Guide
Install the Plugin
Drop the AZOM DLL into SimHub and enable it — the full visual walkthrough, folder to first launch.
This is the detailed version of the install — every screen you'll see, in order. If you just want the short path, the Getting Started overview has it. Either way the whole thing takes about two minutes.
Close Pithouse first. Pithouse and SimHub both talk to MOZA hardware over the same serial port and cannot run at the same time. Fully quit Pithouse — check the system tray and end it there too — before you launch SimHub.
1 · Download the release
Grab the latest MozaPlugin_<version>.zip from the
Releases page and
unzip it. Inside is a single file: MozaPlugin.dll.
2 · Find your SimHub folder
The DLL goes in the root of your SimHub install. On Windows that defaults to:
C:\Program Files (x86)\SimHub\
You can paste that path straight into the File Explorer address bar to jump there.

Tip: Not sure where SimHub lives? Right-click the SimHub shortcut, choose Open file location, and you'll land in the right folder.
3 · Drop in the DLL
Copy MozaPlugin.dll into that SimHub folder, alongside the other files. That's the
entire installation — nothing to run, no installer.
4 · Enable the plugin
Start SimHub. The first time it sees the new file, it pops a New plugins have been detected dialog. Switch AZOM on, leave Show in left main menu enabled, and click Ok.
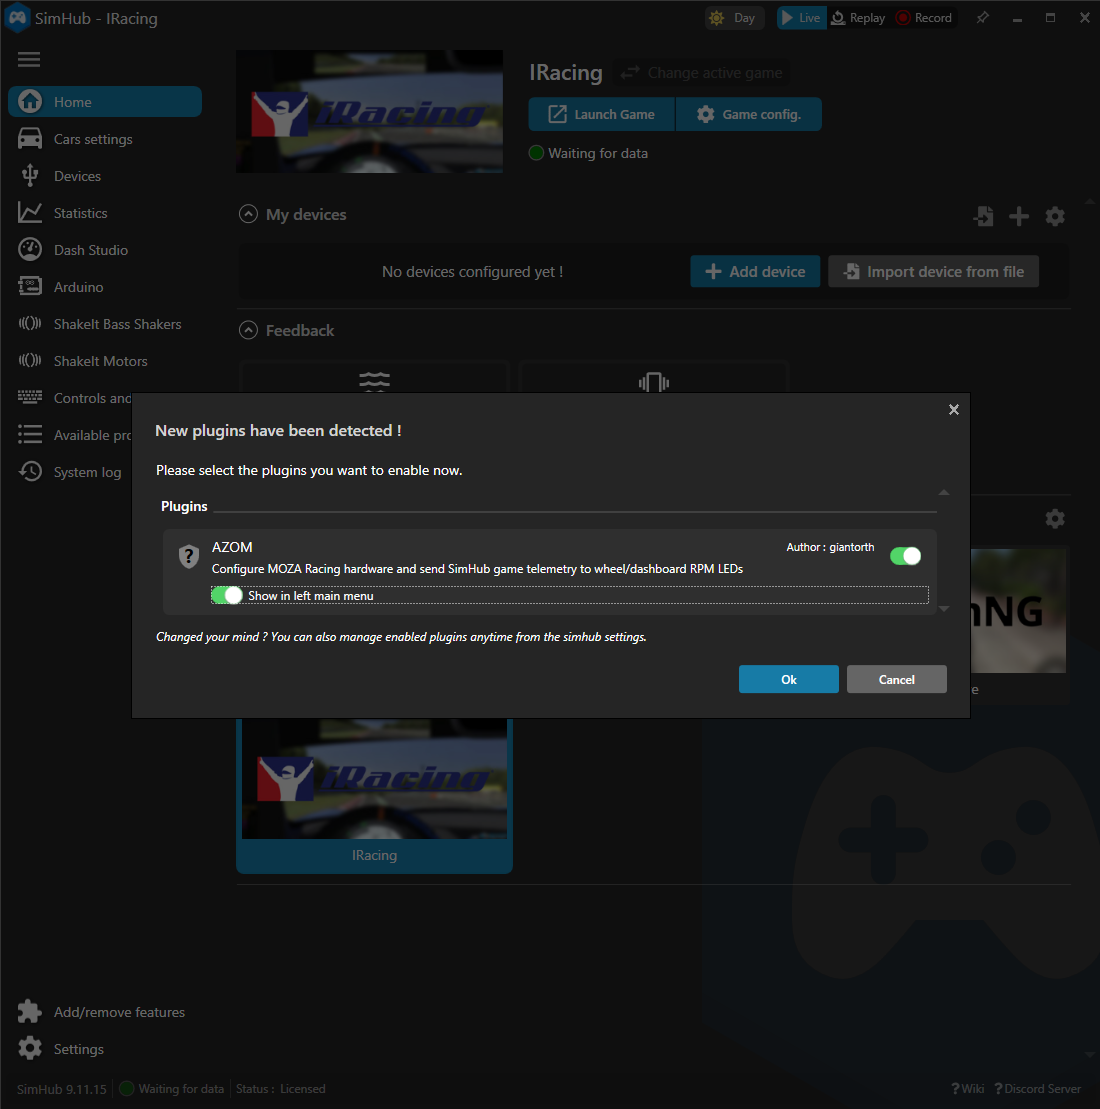
AZOM now appears in the left-hand menu. If you ever miss this dialog, you can toggle the plugin from Settings › Plugins instead.
5 · Plug in and restart once more
Connect your wheelbase over USB and restart SimHub again. On this launch the plugin auto-detects your hardware and deploys its device definitions.
6 · Restart to finish
After the definitions are deployed, AZOM shows a Restart SimHub banner. This last restart loads the new device definitions so your hardware is ready to add under Devices.
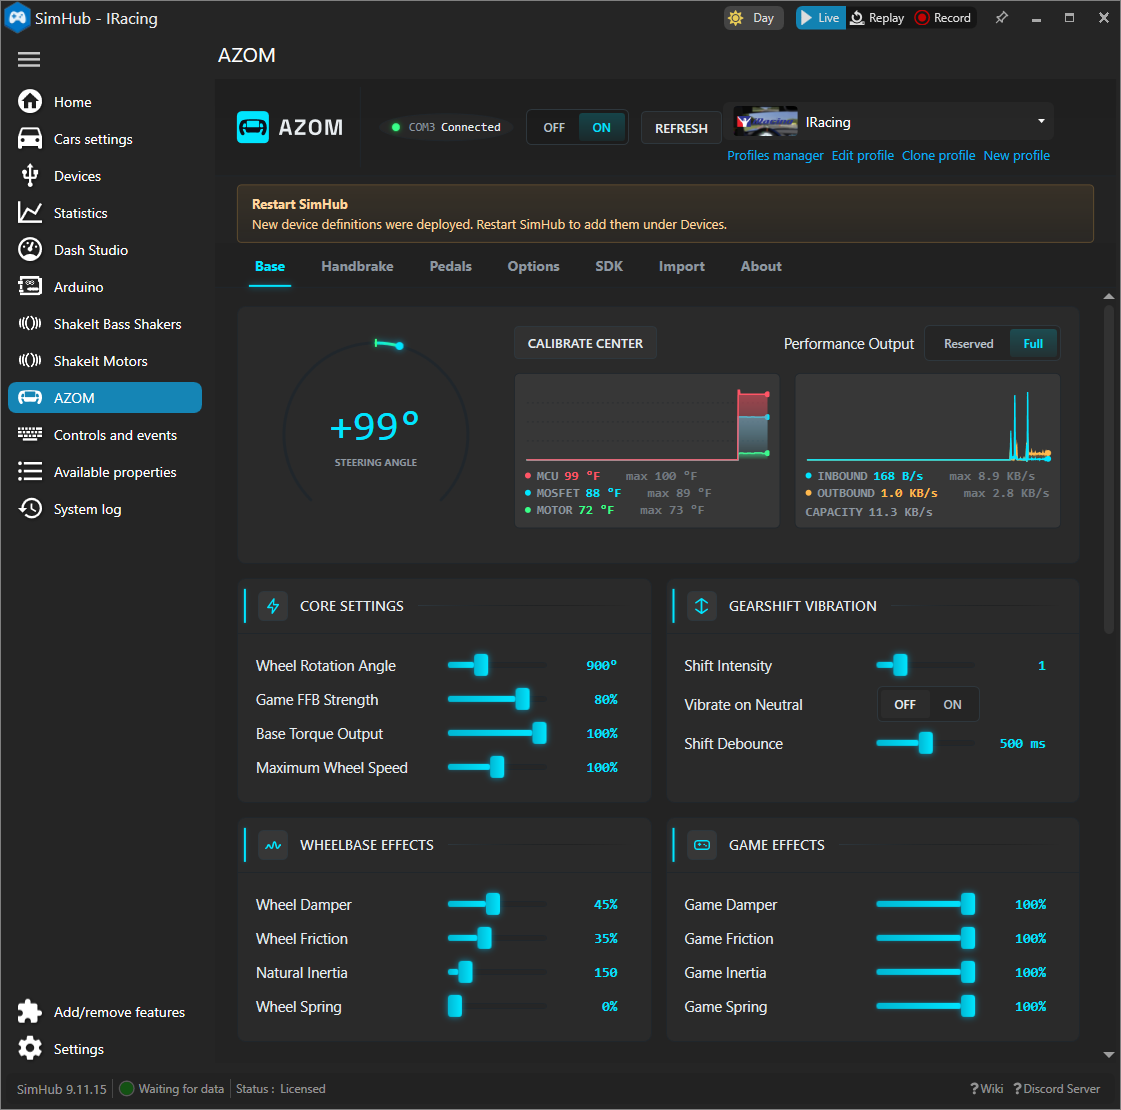
Restart SimHub one more time.